Had a heck of a time finding a tutorial on configuring Android instrumentation testing in IntelliJ. I tried the command line approach, but it was cumbersome and I’d rather have IDE integration. Finally I stumbled across this link which got me most of the way there. Some of the instructions are now automated in IntelliJ 11, so here’s an updated tutorial.
This tutorial assumes that you have installed the Android SDK, created an Android project, and simply want to add testing to it.
First, open project structure dialog by right clicking on project name or with the keyboard shortcut F4. Click the plus button and select “Module.”

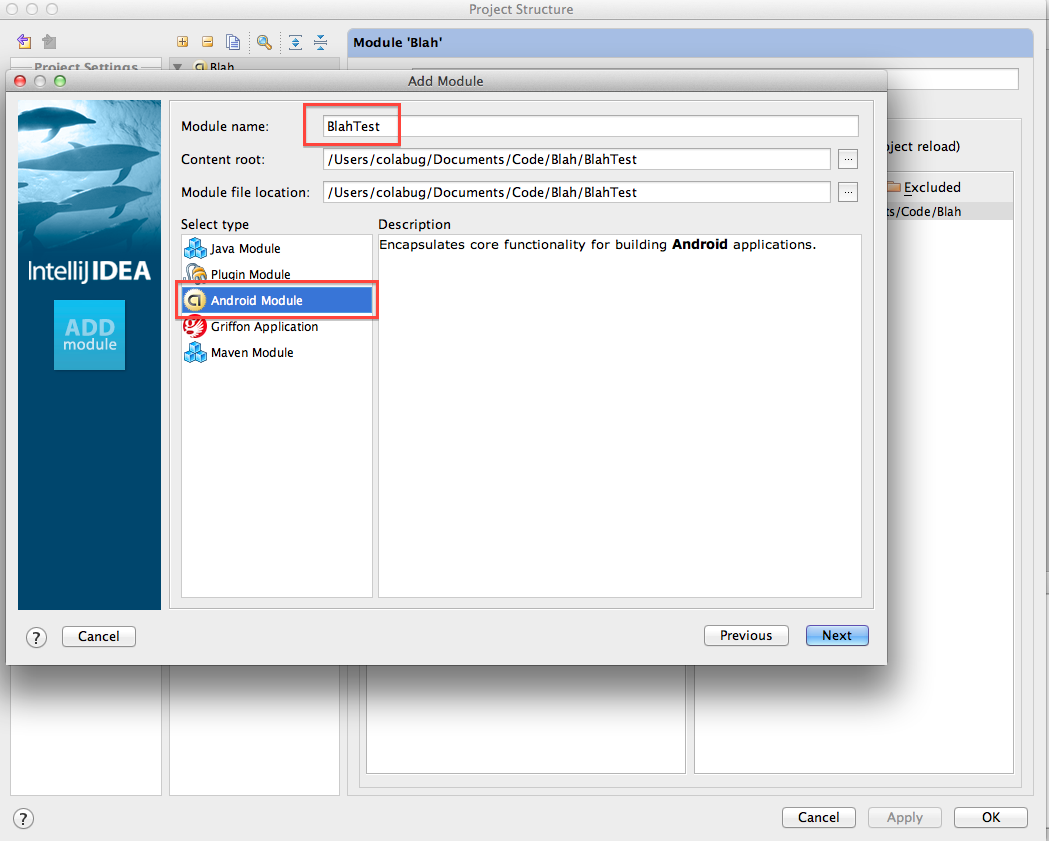
Next, select “Create module from scratch” on the first screen of the wizard. Then choose a name and select “Android Module” type. Accept source directory settings on the next screen.
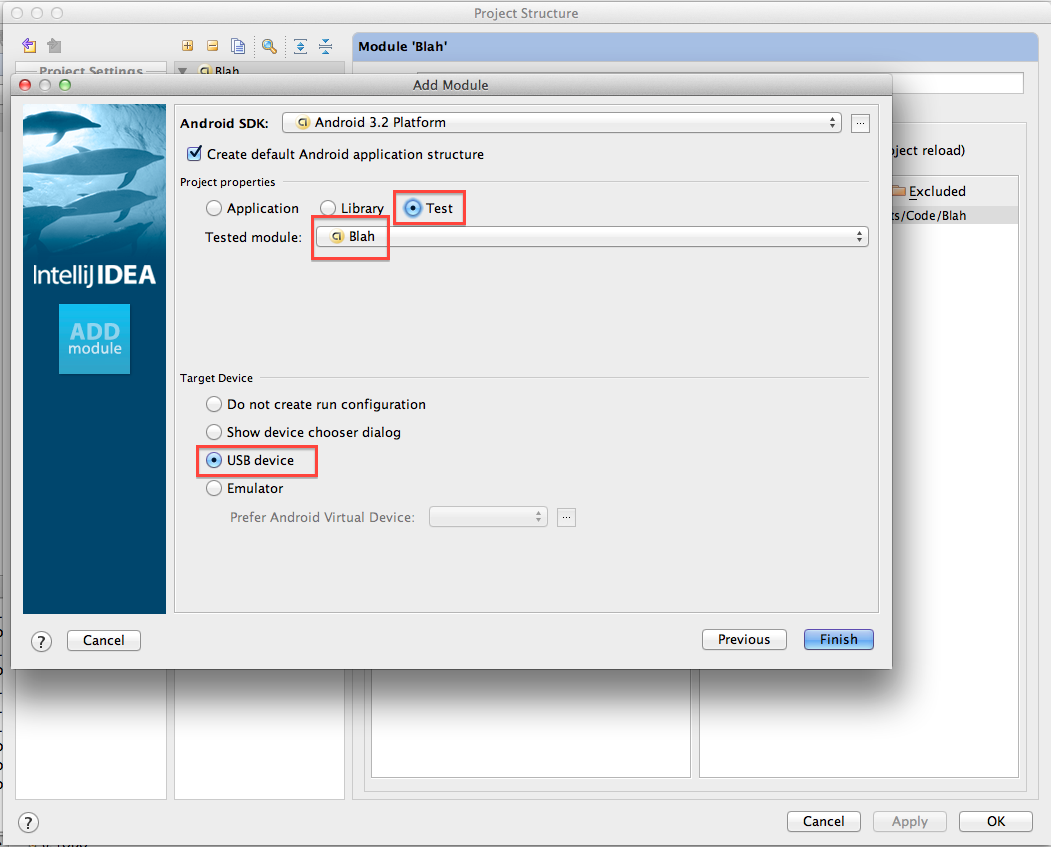
Finally, select “Test” under “Project properties” and ensure the “Tested module” from the drop down list is correct. I like to set the “Target Device” to USB (New option! Note: Acts funky when two devices are plugged in. I filed a bug here). Finish the tutorial.
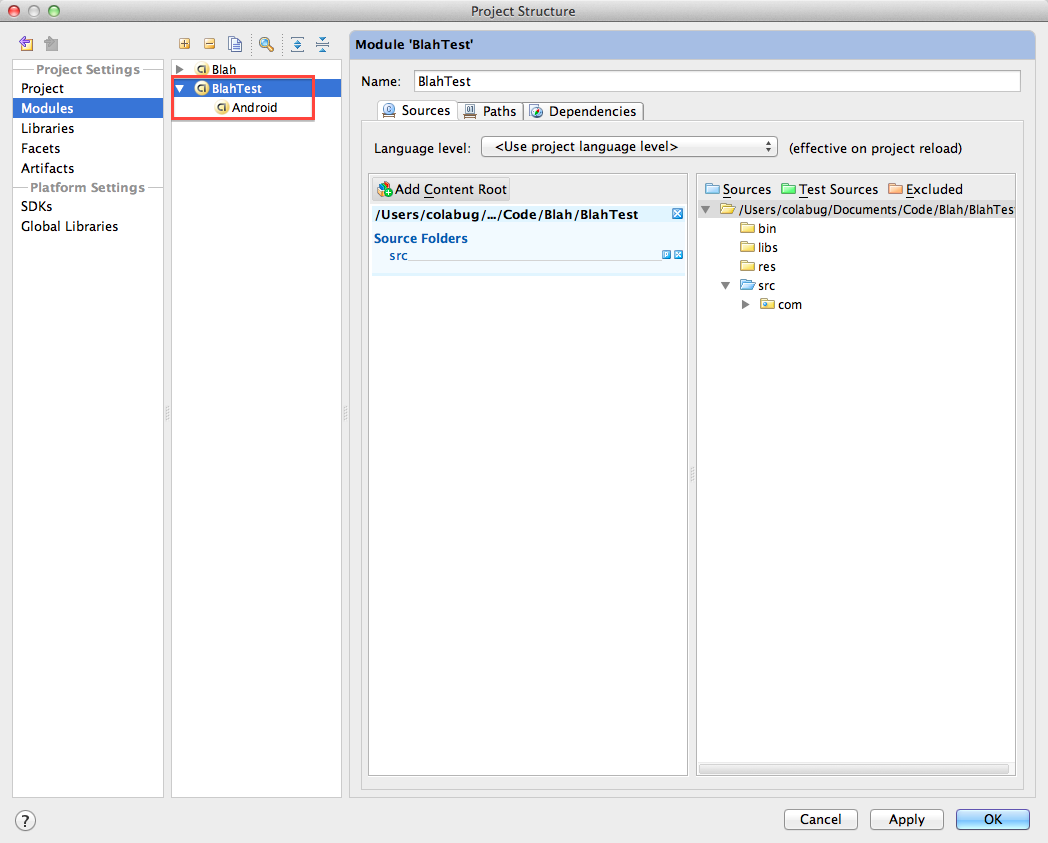
Your project structure should look something like this:
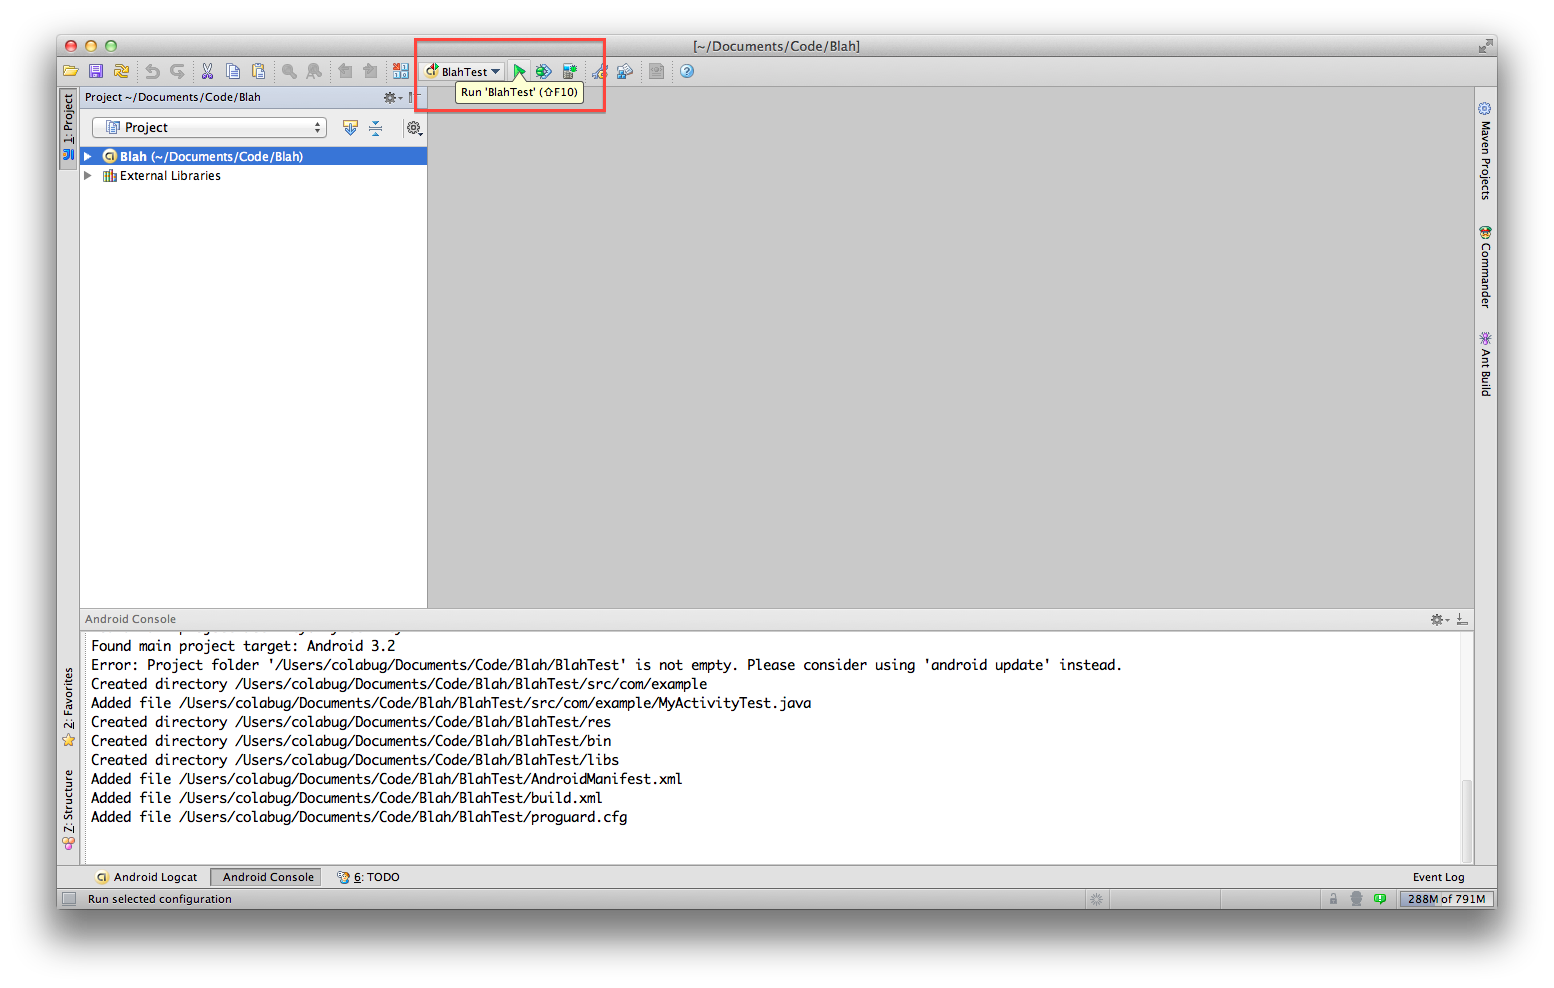
When you exit, you will automatically have a run configuration for your new tests! Hit the play button and enjoy.
Awesome tutorial! I’ve spent a couple hours now trying to figure out why IntelliJ wouldn’t recognize the class name of the main Activity. Thank you!
Glad you found it helpful! How are you liking the west coast? I was tempted to move to Portland, but found my forever city in Philadelphia.
Thanks Anton. Check out these blogs for help with getting Robolectric working with IntelliJ:
http://blog.chariotsolutions.com/2012/08/integrating-robolectric-with-intellij.html
http://blog.chariotsolutions.com/2012/08/android-unit-testing-with-robolectric.html
Ah, great, exactly what I was trying to do.
Nice tutorial. I am trying to setup a test module using robolectric. That seems to be difficult